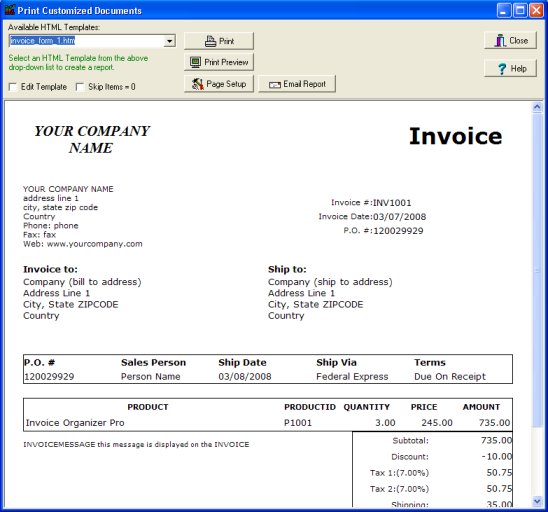
Question/Topic: How to start, how to print invoice?
(
Invoice Organizer Pro)
Step 1: Setup your company data
- Click Options menu command. Click Company tab.
- Enter information about your company/organization.
- Name, address, phone, fax, web information will be included automatically on each invoice.

Step 2: Enter Customers data
- Open Customers database.
- Enter your customer general information.
- The contents of the SHIP_TO and BILL_TO data fields will be included (automatically) on the invoice.
- NOTE: CUSTOMER field should have a unique value, no customers with the same CUSTOMER value are allowed.

Step 3: Enter Products data
- Open Products database.
- You can enter product name, price, category, type, cost, .. .
- Category or User Fields are useful for product selection (when you create invoices), search, filter, summaries and analysis.

Step 4: Create invoice record and print invoice
- Open Invoices database.
- On the File menu click New Record, you can also click New button on the Tool bar.
- New entry form (right side) is ready to accept data entries.
- All data field names suggest you data entries. Some fields allow you to make selections (example: CUSTOMER, ITEMS,)
- On the File menu click Save Record to save data.

click
Products tab, double click on the field to add products:

add/edit products window:

Related topic:
Stockroom Inventory Software/Add-Edit Items Window
(How the
Add/Edit Item window works?)
Step 5: Print invoice
- On the Print menu click Print Selected Record and then click Print Customized Documents.
- Select invoice_form_1.htm in the Available HTML Templates.
- Click Print to print invoice.


